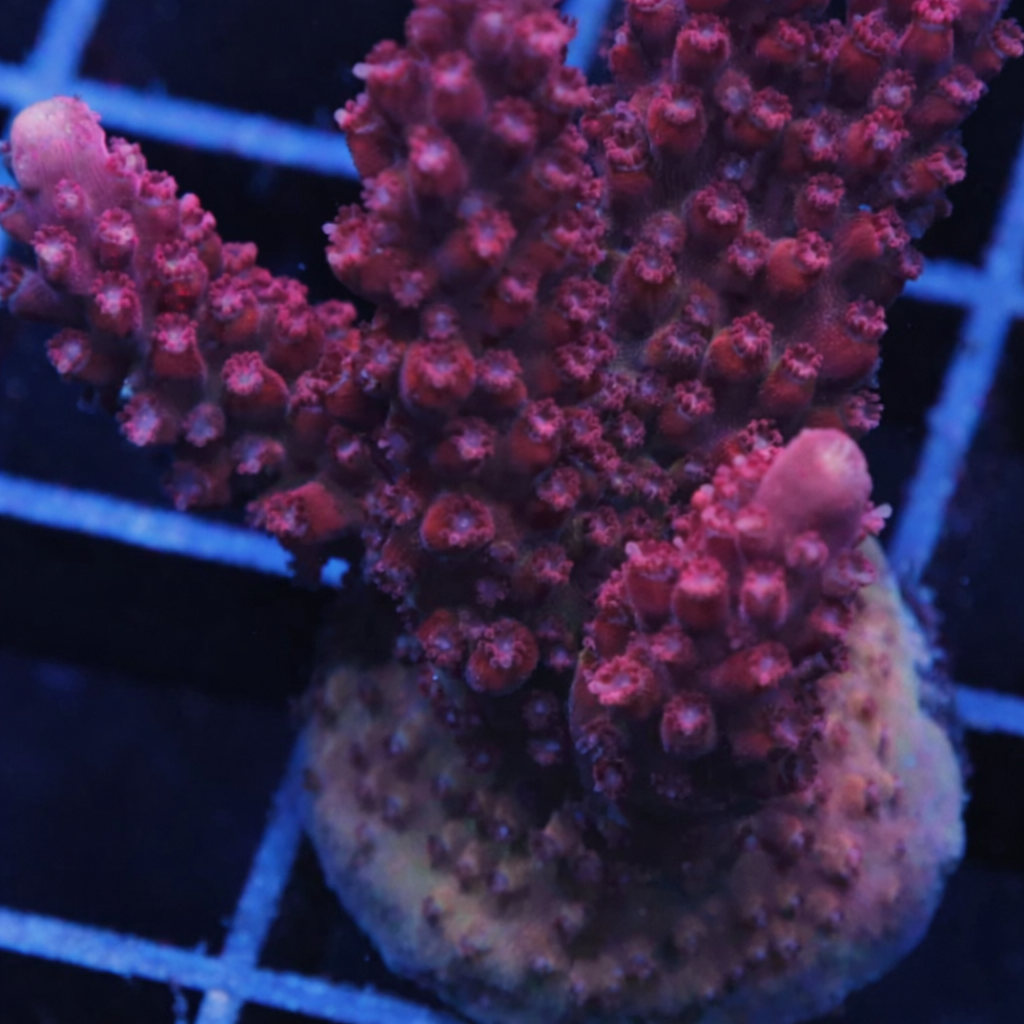
Martian Sunset Acropora
from $120.00
The Martian Sunset Acropora is a show‑stopping SPS coral prized for its surreal coloration and dynamic growth form. Its branches glow with a radiant blend of deep red, magenta, and golden undertones, reminiscent of a sunset over the Martian horizon. Under actinic lighting, the polyps shimmer with fluorescent orange‑pink highlights, creating a mesmerizing contrast against the coral’s rich base.
This Acropora thrives in high‑light, high‑flow reef environments, developing thick, sculpted branches and tight polyp clusters that accentuate its texture. As it matures, subtle gradients of violet and peach emerge along the tips, giving each colony a unique celestial glow.
Care Notes:
Lighting: Strong LED or T5 actinic spectrum
Flow: Moderate to high
Placement: Upper to mid reef zones
Growth: Fast‑branching with dense polyp coverage
The Martian Sunset Acropora is a centerpiece coral for collectors seeking vivid color and refined structure — a living sunset captured beneath the waves.
Establish stable conditions before introducing any livestock.
Verify display tank parameters: temperature, salinity, pH, and nutrient levels.
Turn lights down to 20–30% intensity before arrival.
Ensure you have dip solution, inspection tools, and a clean container ready.
Prevent thermal shock by equalizing water temperature.
Float the bag or container in your sump/display for 20–30 minutes or until temperature of bag matches aquarium water.
Avoid adding tank water at this stage—this step is strictly thermal equalization.
Highly Recommended
Equalize salinity to prevent osmotic stress.
Measure bag water salinity.
If salinity differs by more than 0.002 SG, drip acclimate for 30–60 minutes.
Use a slow drip: 2–4 drops per second.
Stop when salinity matches your display tank within 0.001 SG.
Copper Coast runs systems at 35 PPT or 1.026 SG.
Critical
Identify visible pests before dipping or introducing to the tank.
Use a white tray or container for clear visibility.
Inspect coral bases, crevices, and undersides for nudibranchs, flatworms, eggs, vermetid snails, aiptasia, or algae.
Use a coral-safe dip to eliminate hitchhikers.
Prepare dip solution according to manufacturer instructions.
Submerge coral for 5–10 minutes, gently agitating.
Be careful not to dip for too long, coral is already stressed from shipping and pesticidal dips cause additional stress.
Rinse in clean saltwater before placing in the tank.
Reduce stress by starting in shaded or low-intensity areas.
Position corals on the sandbed or lower rockwork.
Avoid strong flow directly on newly placed corals.
Increase light intensity slowly to avoid bleaching.
Days 1–7: Maintain 20–30% intensity.
Days 8–14: Increase to 40–50%.
Days 15–21: Increase to 60–70%.
Days 22–30: Increase to 80–100% (or your normal PAR target).
SPS is the most sensitive species of coral so following this procedure helps increase success of coral establishing in the system.
Ensure livestock adjusts safely throughout acclimation.
Watch for coral retraction, bleaching, or tissue loss.
Test salinity and temperature daily during the first week.
Reduce light ramp speed if any stress signs appear.
Avoid quick drastic changes of ANYTHING, if you have a parameter wrong, a fast swing to correct it will make matters worse!!!
Move corals to their permanent positions once stable.
After 30 days, relocate corals to areas matching their PAR and flow needs.
Secure frags with glue once they show stable polyp extension.
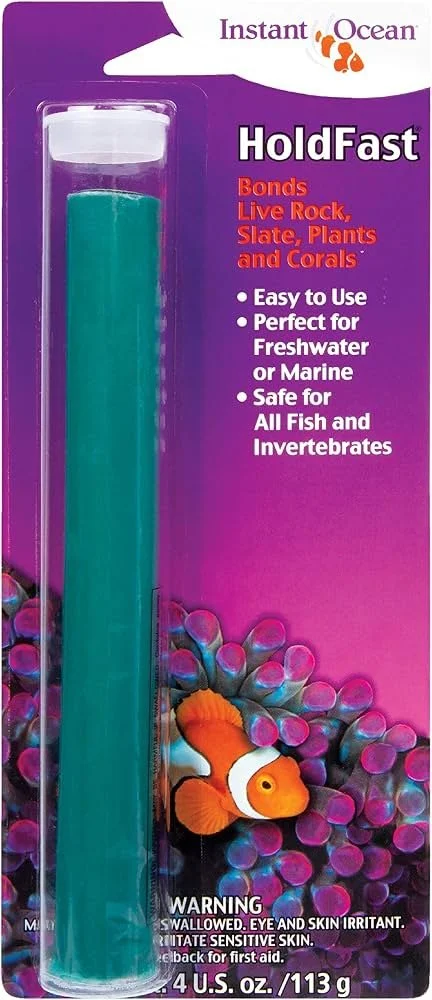
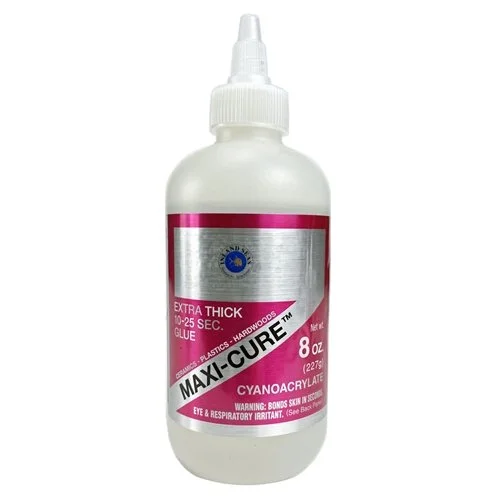
We recommend cutting the bottom of the frag plug off and securing with combination of heavy gel super glue and epoxy for best attachment.
Resume normal feeding and maintenance routines.
The Martian Sunset Acropora is a show‑stopping SPS coral prized for its surreal coloration and dynamic growth form. Its branches glow with a radiant blend of deep red, magenta, and golden undertones, reminiscent of a sunset over the Martian horizon. Under actinic lighting, the polyps shimmer with fluorescent orange‑pink highlights, creating a mesmerizing contrast against the coral’s rich base.
This Acropora thrives in high‑light, high‑flow reef environments, developing thick, sculpted branches and tight polyp clusters that accentuate its texture. As it matures, subtle gradients of violet and peach emerge along the tips, giving each colony a unique celestial glow.
Care Notes:
Lighting: Strong LED or T5 actinic spectrum
Flow: Moderate to high
Placement: Upper to mid reef zones
Growth: Fast‑branching with dense polyp coverage
The Martian Sunset Acropora is a centerpiece coral for collectors seeking vivid color and refined structure — a living sunset captured beneath the waves.
Establish stable conditions before introducing any livestock.
Verify display tank parameters: temperature, salinity, pH, and nutrient levels.
Turn lights down to 20–30% intensity before arrival.
Ensure you have dip solution, inspection tools, and a clean container ready.
Prevent thermal shock by equalizing water temperature.
Float the bag or container in your sump/display for 20–30 minutes or until temperature of bag matches aquarium water.
Avoid adding tank water at this stage—this step is strictly thermal equalization.
Highly Recommended
Equalize salinity to prevent osmotic stress.
Measure bag water salinity.
If salinity differs by more than 0.002 SG, drip acclimate for 30–60 minutes.
Use a slow drip: 2–4 drops per second.
Stop when salinity matches your display tank within 0.001 SG.
Copper Coast runs systems at 35 PPT or 1.026 SG.
Critical
Identify visible pests before dipping or introducing to the tank.
Use a white tray or container for clear visibility.
Inspect coral bases, crevices, and undersides for nudibranchs, flatworms, eggs, vermetid snails, aiptasia, or algae.
Use a coral-safe dip to eliminate hitchhikers.
Prepare dip solution according to manufacturer instructions.
Submerge coral for 5–10 minutes, gently agitating.
Be careful not to dip for too long, coral is already stressed from shipping and pesticidal dips cause additional stress.
Rinse in clean saltwater before placing in the tank.
Reduce stress by starting in shaded or low-intensity areas.
Position corals on the sandbed or lower rockwork.
Avoid strong flow directly on newly placed corals.
Increase light intensity slowly to avoid bleaching.
Days 1–7: Maintain 20–30% intensity.
Days 8–14: Increase to 40–50%.
Days 15–21: Increase to 60–70%.
Days 22–30: Increase to 80–100% (or your normal PAR target).
SPS is the most sensitive species of coral so following this procedure helps increase success of coral establishing in the system.
Ensure livestock adjusts safely throughout acclimation.
Watch for coral retraction, bleaching, or tissue loss.
Test salinity and temperature daily during the first week.
Reduce light ramp speed if any stress signs appear.
Avoid quick drastic changes of ANYTHING, if you have a parameter wrong, a fast swing to correct it will make matters worse!!!
Move corals to their permanent positions once stable.
After 30 days, relocate corals to areas matching their PAR and flow needs.
Secure frags with glue once they show stable polyp extension.
We recommend cutting the bottom of the frag plug off and securing with combination of heavy gel super glue and epoxy for best attachment.
Resume normal feeding and maintenance routines.